Beli Löw

Notion forms are powerful tools for collecting information, but the real magic happens when you can instantly acknowledge submissions. Whether you're gathering feedback, managing event registrations, or handling support requests, automated email confirmations keep everyone in the loop and make your workflow feel polished and professional.
When someone submits a Notion form, you can send a friendly confirmation from your Gmail account automatically using Notion Automations only. Here's a guide to set it up end‑to‑end without external apps.
What you'll need
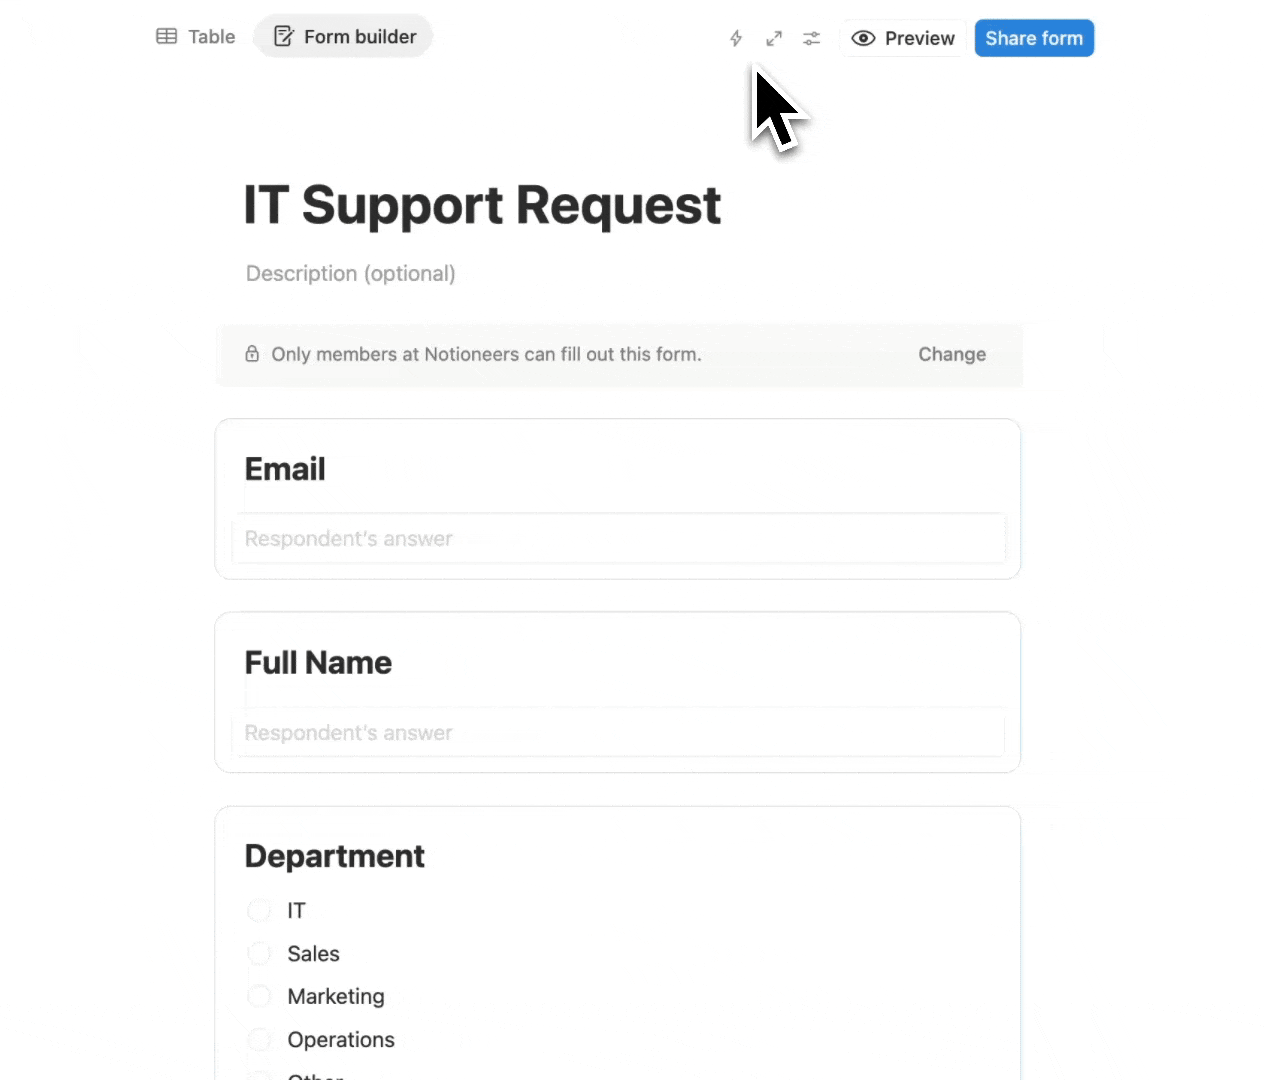
Before you start, make sure you have three things ready: a submissions database in Notion where each form entry creates a new page, Gmail access that you can connect directly in Notion Automations, and an Email text property in your database to capture the submitter's address. Once you have these in place, you're ready to build your automation.
Connect Gmail to Notion Automations
Getting Gmail and Notion to talk to each other is easier than you might think. You don't need any third-party tools or complicated setups—just a quick connection in your Notion settings and you're good to go. Once linked, every automation you build can send emails straight from your Gmail account, which means your confirmations look professional and land in the right inbox every time. If you already use Google Workspace (G Suite) for work, you can connect that account directly. If not, you can create a Gmail account and use it as the sender for your automations
Here’s how to:
- Open any page in your workspace → Automations.
- Click Settings → Email → Connect Gmail.
- Sign in to the Gmail account you want to send from and grant access.
- Back in Notion, make sure “Gmail” shows as a connected sender.
Build the automation (Notion + Gmail only)
Now that your database and Gmail are connected, let's build the automation that actually sends the confirmation email. This part runs completely inside Notion, no extra apps or zappers needed and it'll pull details straight from each form submission to make every message feel personal.
You'll set up a trigger to catch new entries, add a few conditions to make sure you're only emailing valid submissions, and then configure the email action itself. This keeps everything tidy, stops you from accidentally sending duplicates, and gives people instant confirmation the moment they hit submit.
How it works:
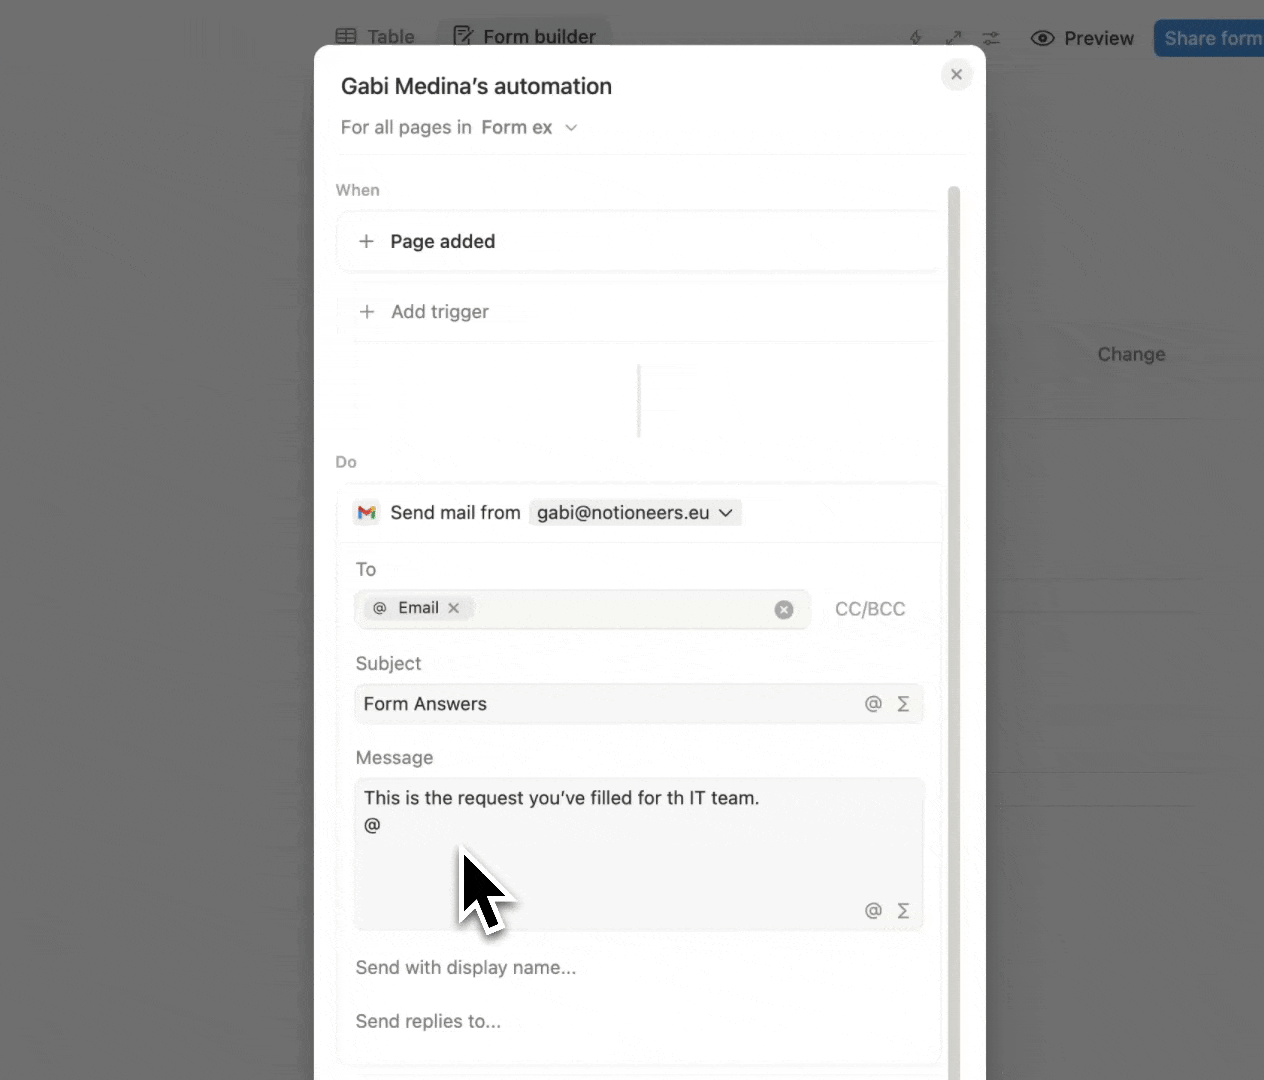
- Open your submissions database → Automations → New automation.
- Trigger: When a page is added.
- Condition:
- Email is not empty
- Opt‑in is checked
- Status is New
- Action: Send email.
- Sender: Gmail
- To: Email (database property)
- Subject: Insert variables such as Name or Topic
- Body: Write a short, helpful note and insert variables
- Optional second action: Update page → set Status to Emailed.
- Save and turn it on.
Notioneers Tip:
Test before launch, submit the form with your own address. Confirm it sends from Gmail, variables populate correctly, and the message stays out of spam.
How to: Email in multi‑step workflows
Let's say you run a small design studio and clients fill out a Notion form to request a quote. The moment they hit submit, they get an email from your Gmail: "Thanks for reaching out! We've received your request for [Project type] and will get back to you within 48 hours." Meanwhile, your team sees the new entry in Notion, complete with all the details they need to start drafting a proposal. No manual copying, no forgotten follow ups, just a smooth handoff from form to inbox to action.
How to:
- Prepare your database with the necessary properties (email, status, mail subject, date, etc)
- Create the automation by clicking on the ray icon placed on the corner right on top of your database.
- Edit your automation depending on the mail you want to send, like trigger: when page is added, when status changes to, etc.
- Now add the action send mail with this structure:
- Sender: email
- To: email of the worker.
- Subject: name or topic.
- Body that contains the subject.
- Save, test and try a duplicate trigger to ensure your Status/conditions prevent double sends
Use cases
Email confirmations are a great way to keep everyone updated whether you're collecting feedback, managing event sign-ups, or handling support tickets. In this guide, we'll show you how to set up automatic Gmail responses that fire off whenever someone submits a Notion form.
Use Case | Trigger | Condition | To | Subject | Body |
Approval confirmation | When Status changes to Approved | Email is not empty | Email property | Approved: [Title] | Short note with next steps and deadline variable |
Meeting reminder (24h) | When Meeting date is within the next 1 day | Email is not empty AND Reminder sent is unchecked | Email property | Tomorrow: [Meeting title] | Agenda, location or call link, reply-to for changes |
Overdue task alert | When Due date is in the past | Done is unchecked AND Email is not empty | Owner email or team alias | Overdue: [Title] | Short status, blocking issue, link to page |
Form submission confirmation | When a page is added | Status = New AND Email is not empty | Email property | Received: [Topic] | Confirmation with summary bullets |
Tip: Keep subjects under 60 characters and bodies under 120 words for better deliverability and readability.
FAQ

Beli Löw
Founder, Senior Notion Consultant
Beli is an IT project manager, tool enthusiast, entrepreneur and has organized his whole life with Notion. His news sources are release notes from tools. There is (almost) no feature or shortcut that he does not know.

Level Up Your Business Workspace: Get Monthly Notion Pro Tips
Keep Reading…


![Checkin Method [including Checkin questions generator]](https://images.spr.so/cdn-cgi/imagedelivery/j42No7y-dcokJuNgXeA0ig/89bbf513-5d6a-417a-8c66-a37447976918/Chekin-Tool/w=1920,quality=90,fit=scale-down)


